The normal practice when designing a broadband operator is that a time window of between 500 and 1000 msec long should be used for the analysis. When this operator is applied a useful improvement in resolution should be observed over the design interval. However above the the original design time window the high-end result may appear to contain very high frequencies ringing with too much gain. Below the design window the low frequeicies are often boosted too much. With the Time Variant approach several operators are designed in time windows (operator zones) down the seimic section then merged using a on/off taper between the different zones. The final merged time varant cube should have neither high nor low frequencies over amplified and will be easier to interpret over the entire time range.
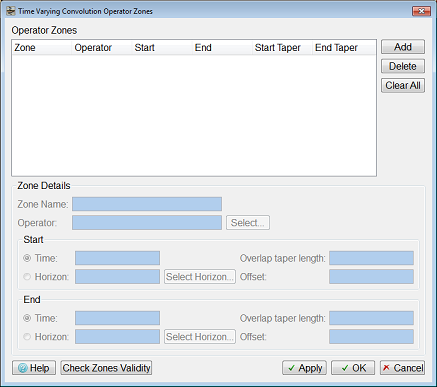
The tab is split into two-groups Operator Zones which allows you to add, delete or view currently loaded operator zones and Zone Details group which enables you to configure an operator zone.
Sub-group: Operator Zones
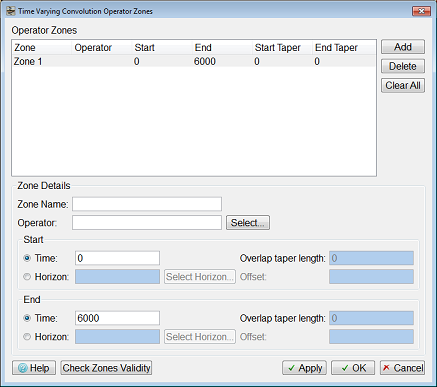
This sub-group provides you with control to view operator zones loaded from a session file, add and delete operator zones. On startup, Frequency Shaping does not define any operator zones. Pressing Add button creates a Zone with a default name, Start Time and End Time with values set to the data start and end times. The Start Taper and End Taper are both set to "0" as only one zone has been defined so far. No operator is associated with zone yet as can be seen in figure below. The user has to configure details regarding the Operator, Start Taper and End Taper using controls provided in the Zone Details sub-group. Subsequent operator zone entries will have Start time and Start Taper based on previous or already existing operator zones.
Sub-group: Zone Details
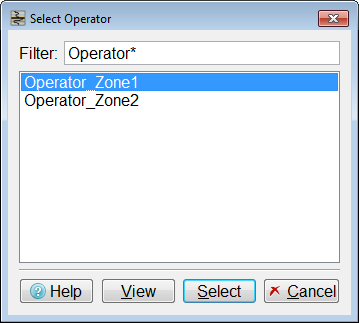
This sub-group allows you to configure an operator zone along with Start/End Time and Start/End tapers. To select an operator press the Select ... and select an operator from the pop-up dialog.
Note that the list of operators is filtered in such a way that only appear for selection the operators which have a low end and high end versions, meaning that on the database there are two operators with that same name but different suffixes, _lo for low end operator and _hi for high end operator.
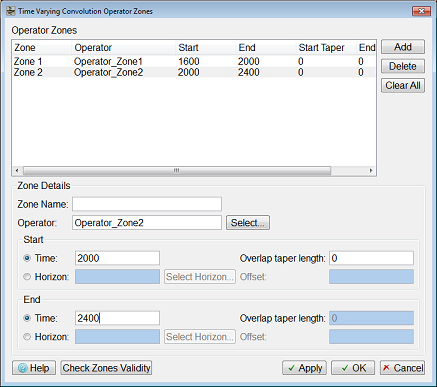
Once the operator has been selected you can set the set the Start time, End time, Start Taper and End Taper for an operator zone. Press Apply button to add the operator zone and continue configuration of more operator zones or pressOk to close the dialog.
As alternative to using a start and end time, horizons can be selected to specify the start and end of each zone.
Contribution of Tapers when configuring operator zones
The taper off on one operator starts half the Overlap taper lenght before the zone boundary time. The taper on for the next zone starts at the same time as the previous zone's taper off, so the total contribution of both zones in the overlap zone is always 100%. The tapers are linear. There is no taper- on at the start of the first zone and no taper-off at the end of the last zone.
The figure below shows how the overlap taper works. The End Time for the first zone is the same as the Start Time for the second zone and is set to 500ms. The Overlap taper length has been set to 200ms.
