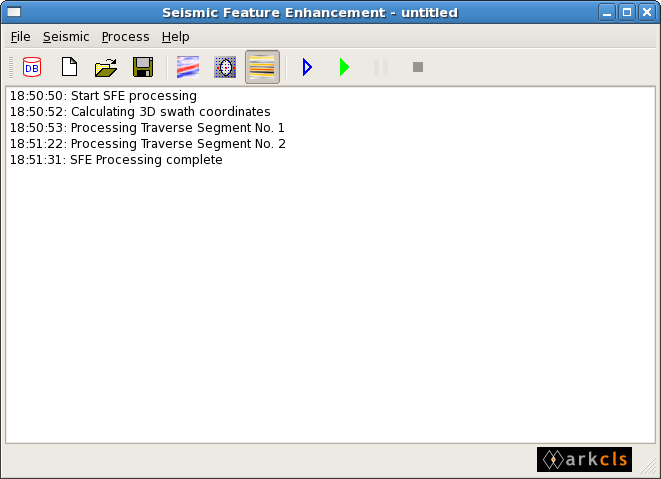
The Seismic Feature Enhancement main window GUI consists of, from top to bottom, a menubar area, a toolbar area, and a log area (see figure below).
This sub-section describes the actions performed by the various menu items
 | Pops up a selector to allow you to choose a project for this SFE session. Session will be in database connect mode (shortcut Ctrl+P). |
 | Creates a new SFE session (shortcut Ctrl+N). |
 | Opens a previously saved SFE session (shortcut Ctrl+O). This facility allows you to restore the SFE parameters from a previously saved session. Restoring a previously saved session can take a few moments while database access is established. Note, if the stored data within the database has been modified since the session save time, then it is possible that different results may be generated following a session restore. |
 | Saves an SFE session (shortcut Ctrl+S). This allows the SFE parameters, together with information about the data used, to be saved. In this way, data can be easily reloaded and the enhanced section generated at some future date. If this is the first time that this is saved then the user will be presented with a file selector dialog for this purpose (shortcut Ctrl+S). |
| Saves the current SFE session under a different name. A file selector dialog will pop-up for this purpose. See "Save" above for more details. | |
| Exits the SFE application. |
 | Pops up the "Select Data" dialog which will allow you to select input and output data items for SFE processing. |
 | Pops up the "Aperture Design" dialog which will allow you to design the geometry of the aperture. |
 | Pops up/down a window to display original and SFE seismic sections. |
 | Starts SFE processing in preview mode. SFE seismic data will NOT be output to the database. |
 | Starts SFE processing in output mode. SFE seismic data will be output to the database. |
 | Pauses SFE processing. Both preview and output modes. |
 | Stops SFE processing. Both preview and output modes. |
| Pops up an HTML browser displaying the Quick Start document. | |
| Pops up web browser displaying Contents page for software user guide. | |
| Pops up dialog allowing application diagnostics to be specified. | |
| Pops up web browser displaying the home page of ARK CLS Limited website. | |
| Pops up the About SFE window. |
This sub-section describes the actions performed by the various toolbars and their icons. The toolbars can be positioned in various locations within the main window top (default beneath the menu bar), left, right and bottom (above status area). Additionally, the toolbars can be moved off the main window altogether and anchored on the desktop. To move the toolbar to a new location grab the handle at one end of the toolbar by pressing and holding mouse button 1 and dragging to the new location.
| Shortcut for "File -> DB Project" menu item. |
| Shortcut for "File -> New" menu item. |
| Shortcut for "File -> Open" menu item. |
| Shortcut for "File -> Save" menu item. |
| Shortcut for "Seismic -> Select Data" menu item. |
| Shortcut for "Seismic -> Aperture Design" menu item. |
| Shortcut for "Seismic -> Display Seismic" menu item. |
| Shortcut for "Process -> Preview" menu item. |
| Shortcut for "Process -> Start" menu item. |
| Shortcut for "Process -> Stop" menu item. |
| Shortcut for "Process -> Pause" menu item. |